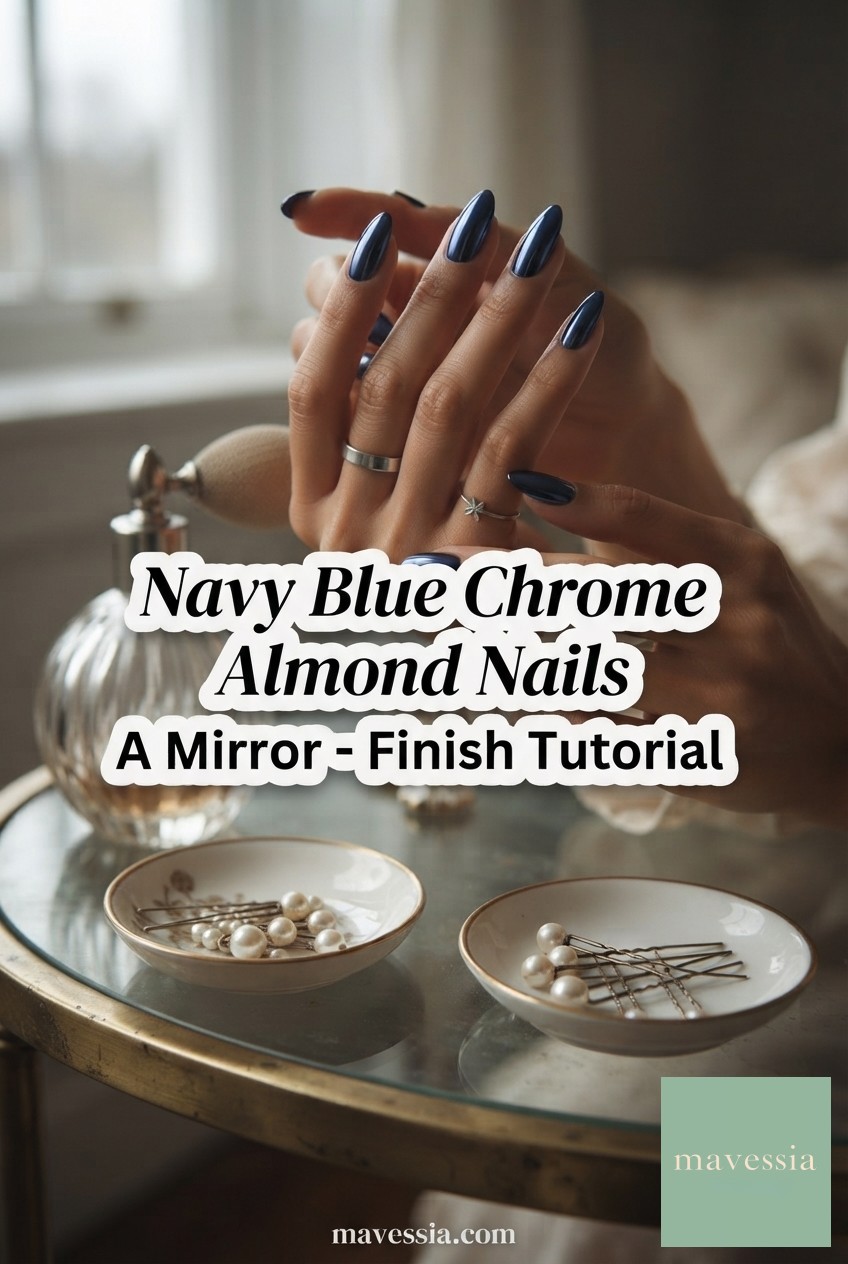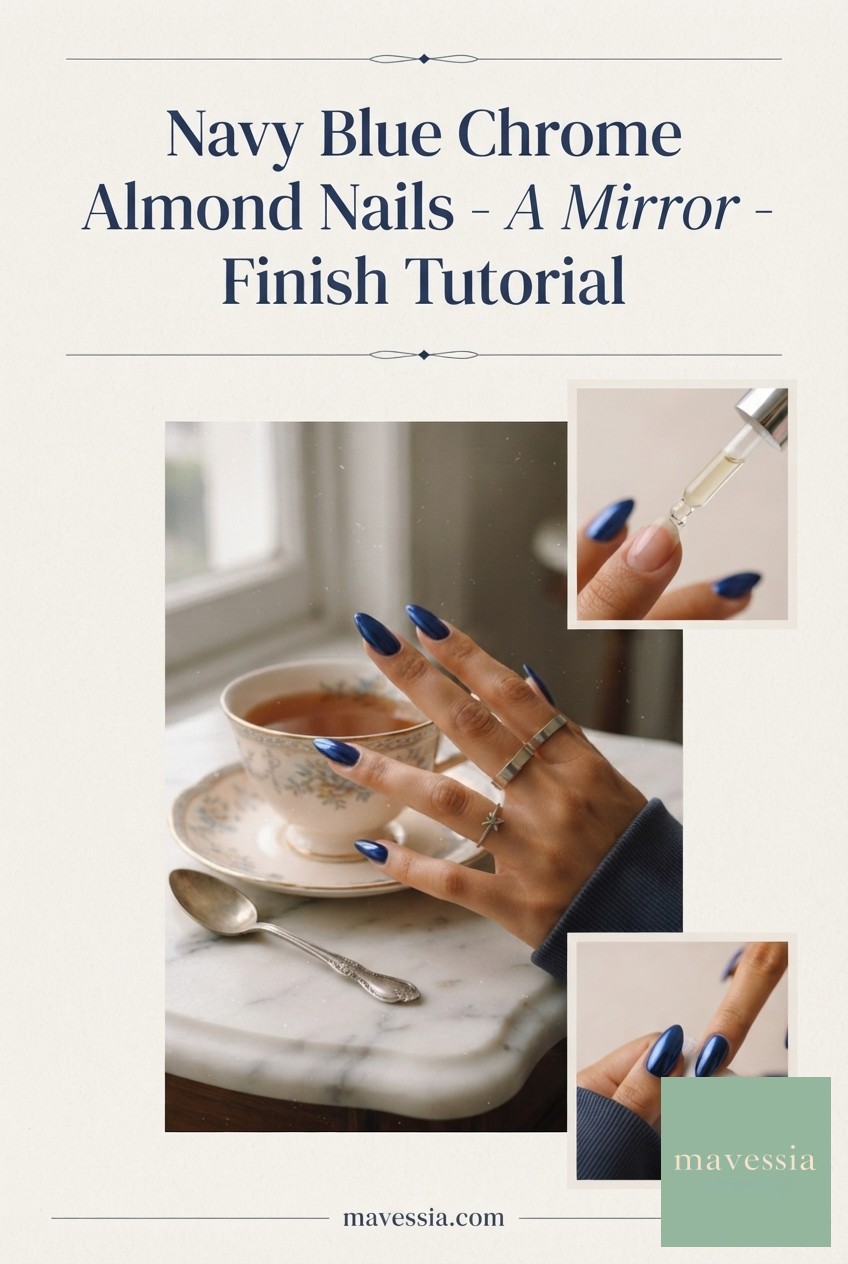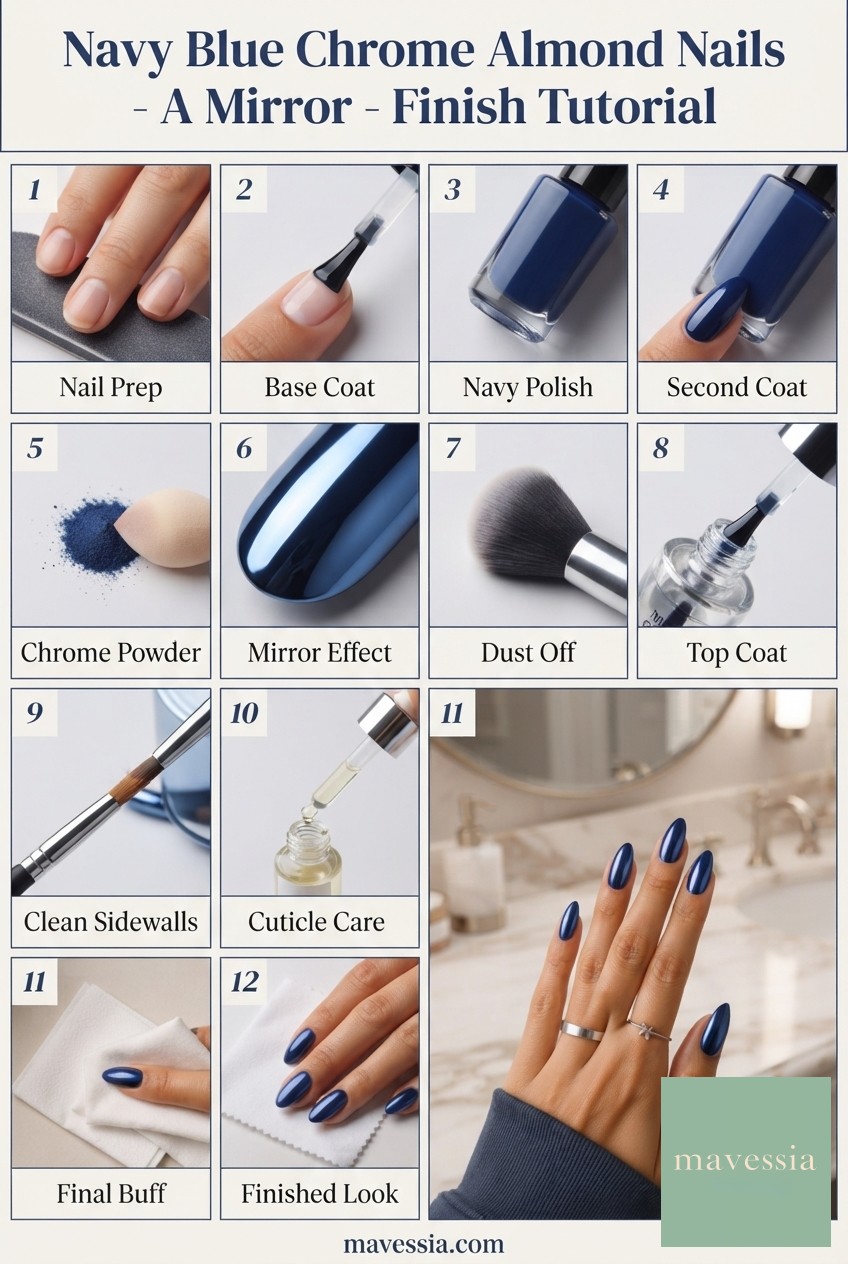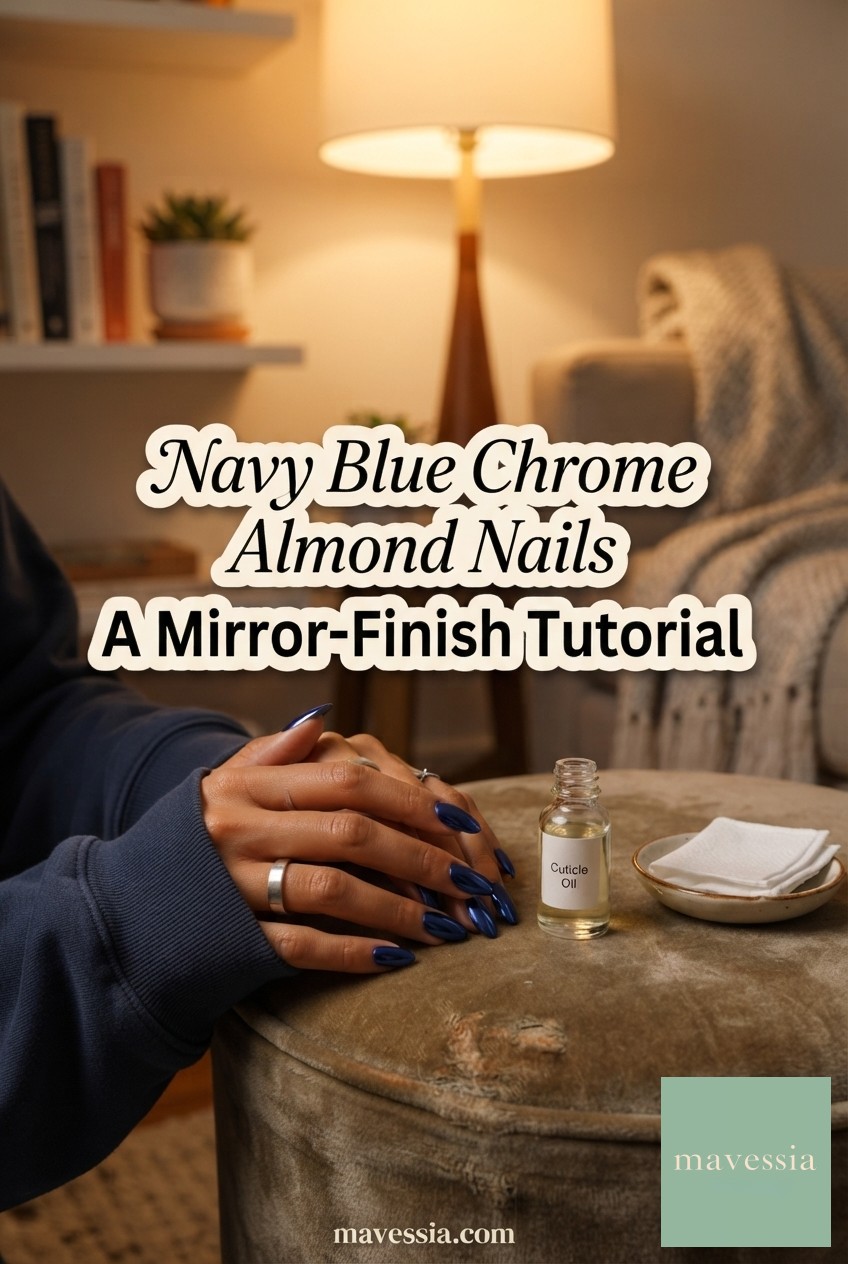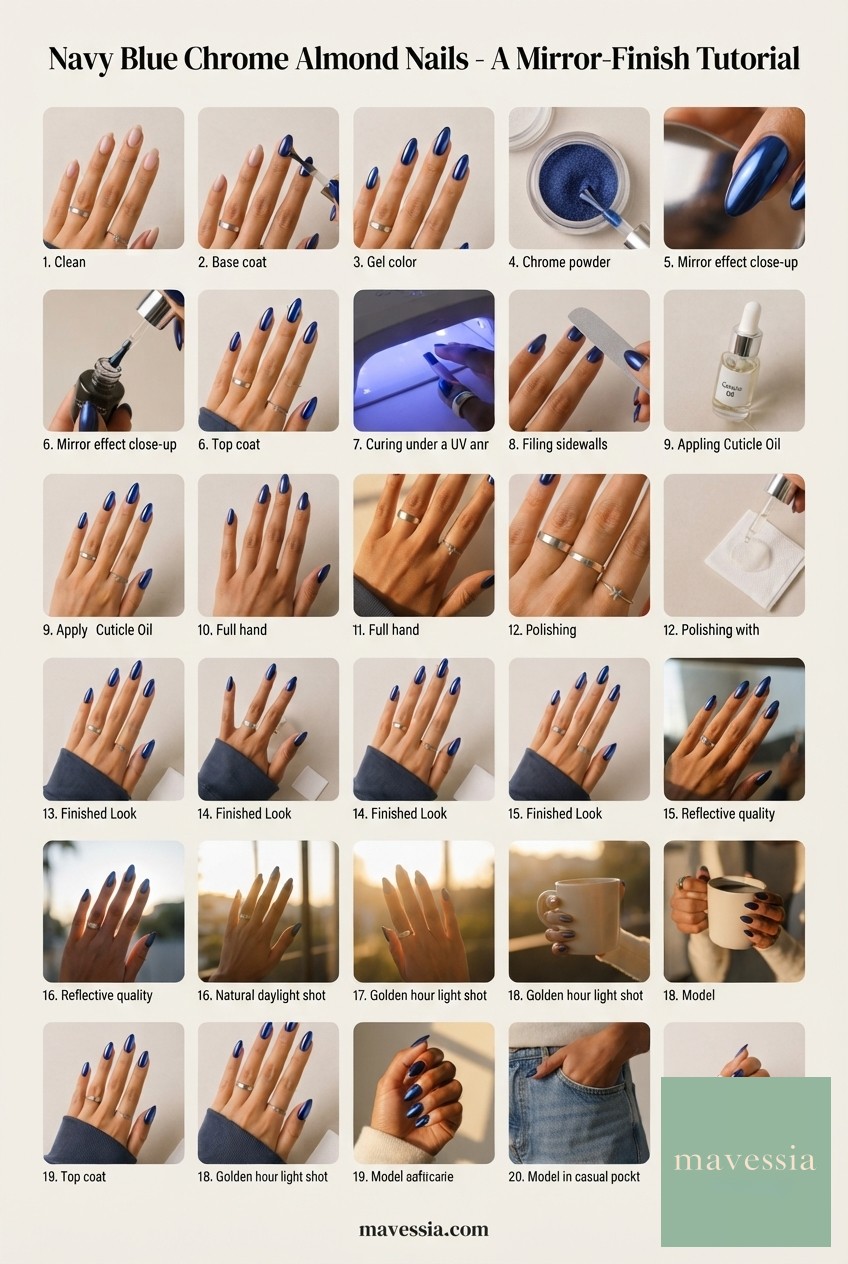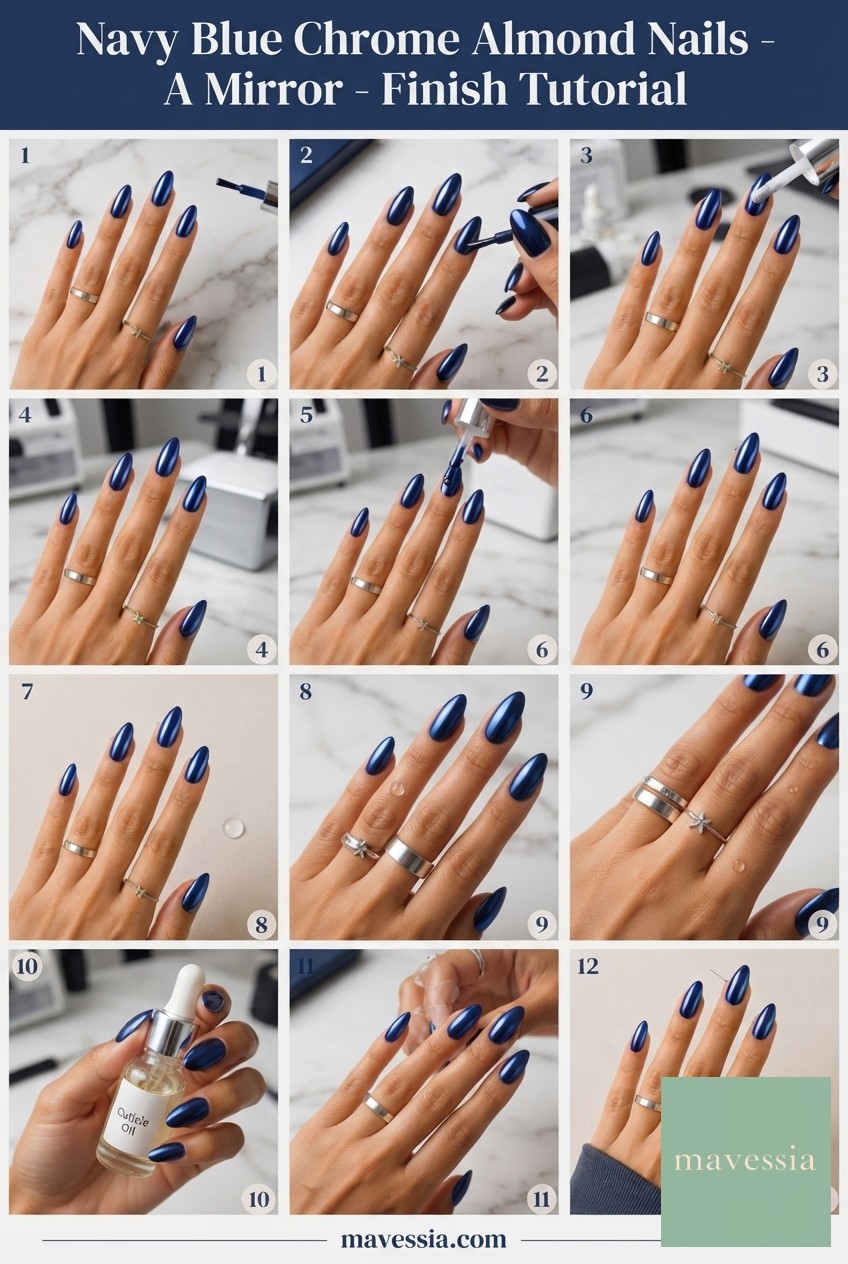
I picked this look for a winter food bank gala I was helping plan, mostly because I needed nails that could survive a twelve-hour day of napkin-folding and centerpiece-hauling without chipping before the toasts. Navy blue chrome on an almond shape reads polished under any lighting — string lights, ballroom chandeliers, or my kitchen fluorescents — and it photographs like glass. Here's exactly how I built it, step by step, with the timing and cure settings that actually worked.
Prep & Shape: The Part Nobody Wants to Rush
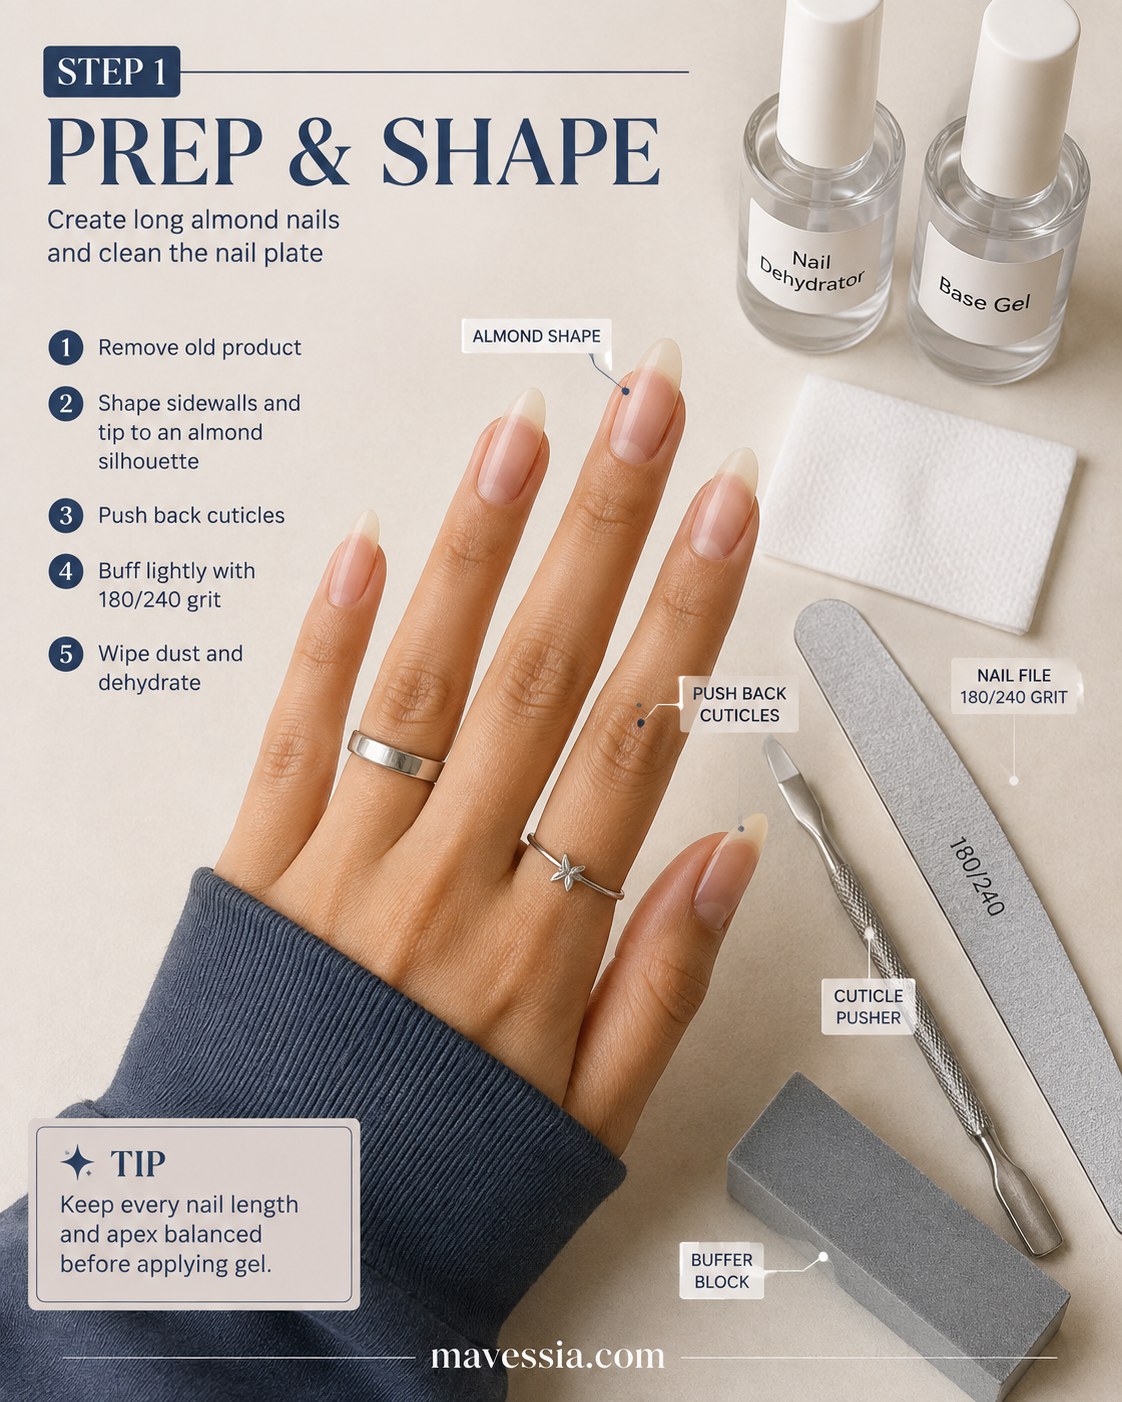
Every good manicure I've ever seen, professional or DIY, was won or lost right here. Skipping prep is the number-one reason chrome polish looks cloudy or lifts by day three. I remove all old product first, then shape the sidewalls and tip into an even almond silhouette on every nail — not just the ones I look at most.
- Push back cuticles so the plate underneath is fully exposed
- Buff lightly with a 180/240 grit file to knock down shine — this is what the gel grips onto
- Wipe dust and dehydrate before you touch another bottle
A mismatched apex is the one flaw that shows up in every photo, so I check the length and curve on all ten fingers before moving on.
If one nail is noticeably shorter, this is the moment to even the set, not later when the color is already down.
Base Layers: Building Adhesion Before Any Color
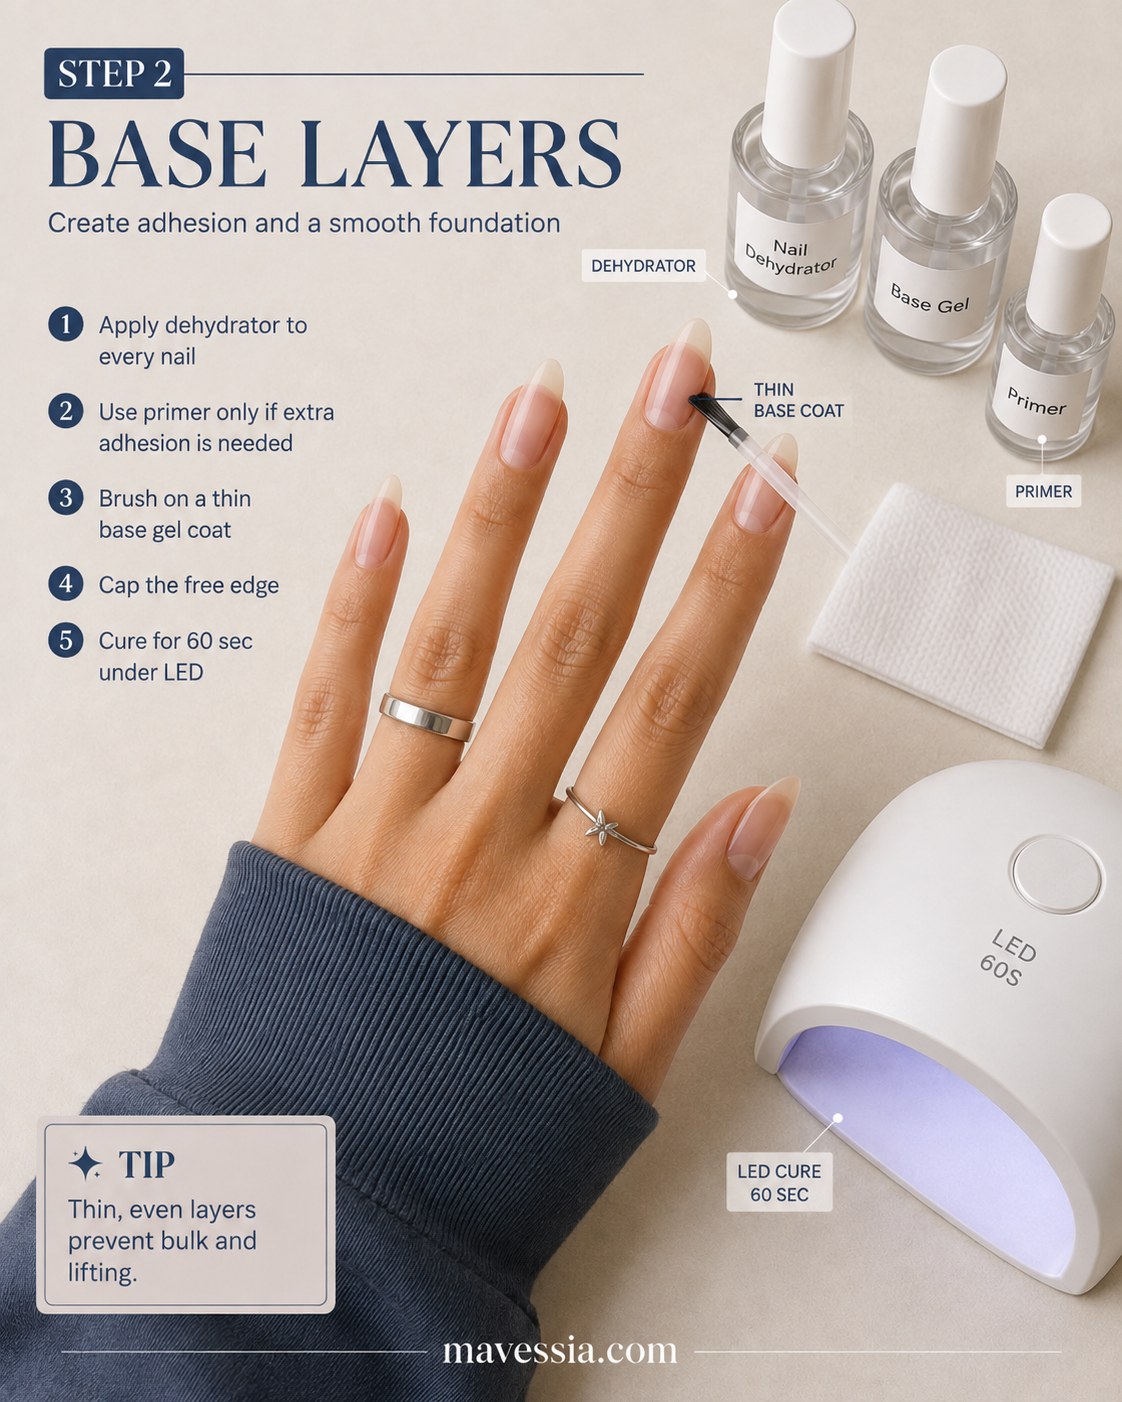
Dehydrator goes on every nail, no exceptions — this is the step that separates a manicure that lasts two weeks from one that's peeling by Thursday. I use primer only if a nail feels extra oily or I know I'll be doing dishes within the hour of finishing.
- Brush on a thin base gel coat
- Cap the free edge so the tip doesn't lift first
- Cure for 60 seconds under the LED lamp
Thin, even layers prevent bulk and lifting — that's the whole tip, and it's the one I repeat to myself every single time I'm tempted to load the brush a little heavier to save a coat.
Color Coat One: The Thin Layer That Sets Up the Shine
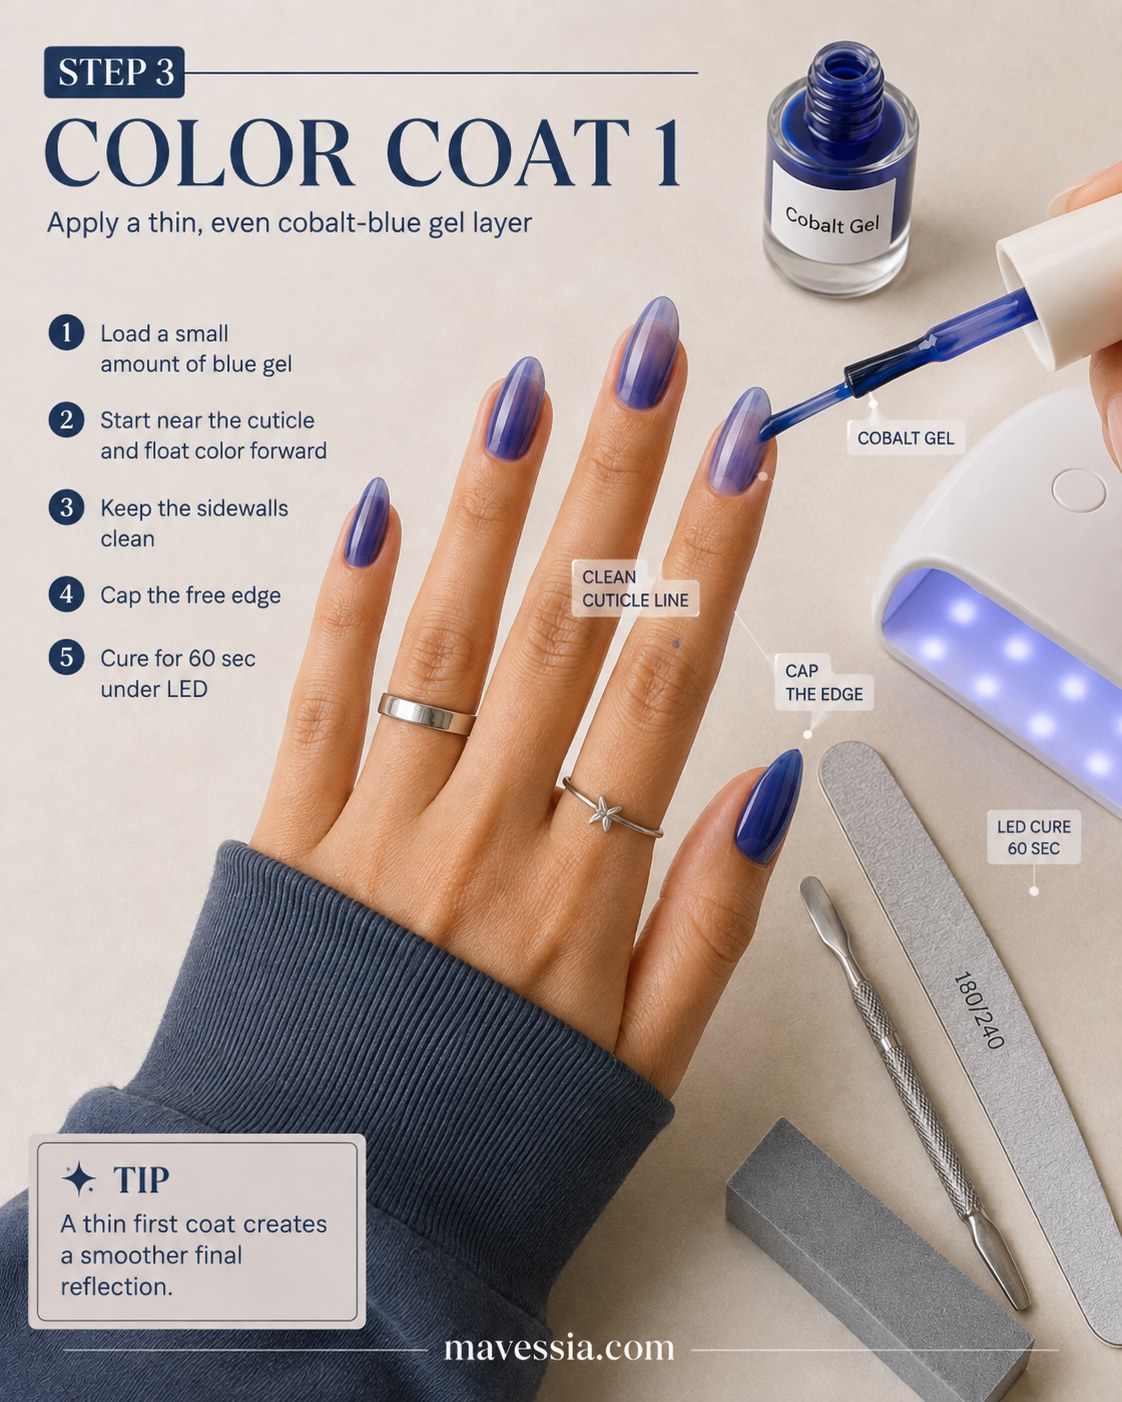
This is where the navy actually starts to happen, and it's tempting to go thick to get opacity fast. Don't. A thin first coat of cobalt gel creates a smoother final reflection later, which matters enormously once the chrome powder goes on.
Load a small amount of blue gel, start near the cuticle, and float the color forward toward the tip. Keep the sidewalls clean as you go — a stray line of navy on the skin is easy to fix now and a pain to fix once it's cured.
- Cap the free edge
- Cure 60 seconds under LED
The nails will look a bit streaky and pale in this photo compared to what's coming — that's normal for a first coat, not a mistake.
Color Coat Two: Full Opacity and a True Almond Line
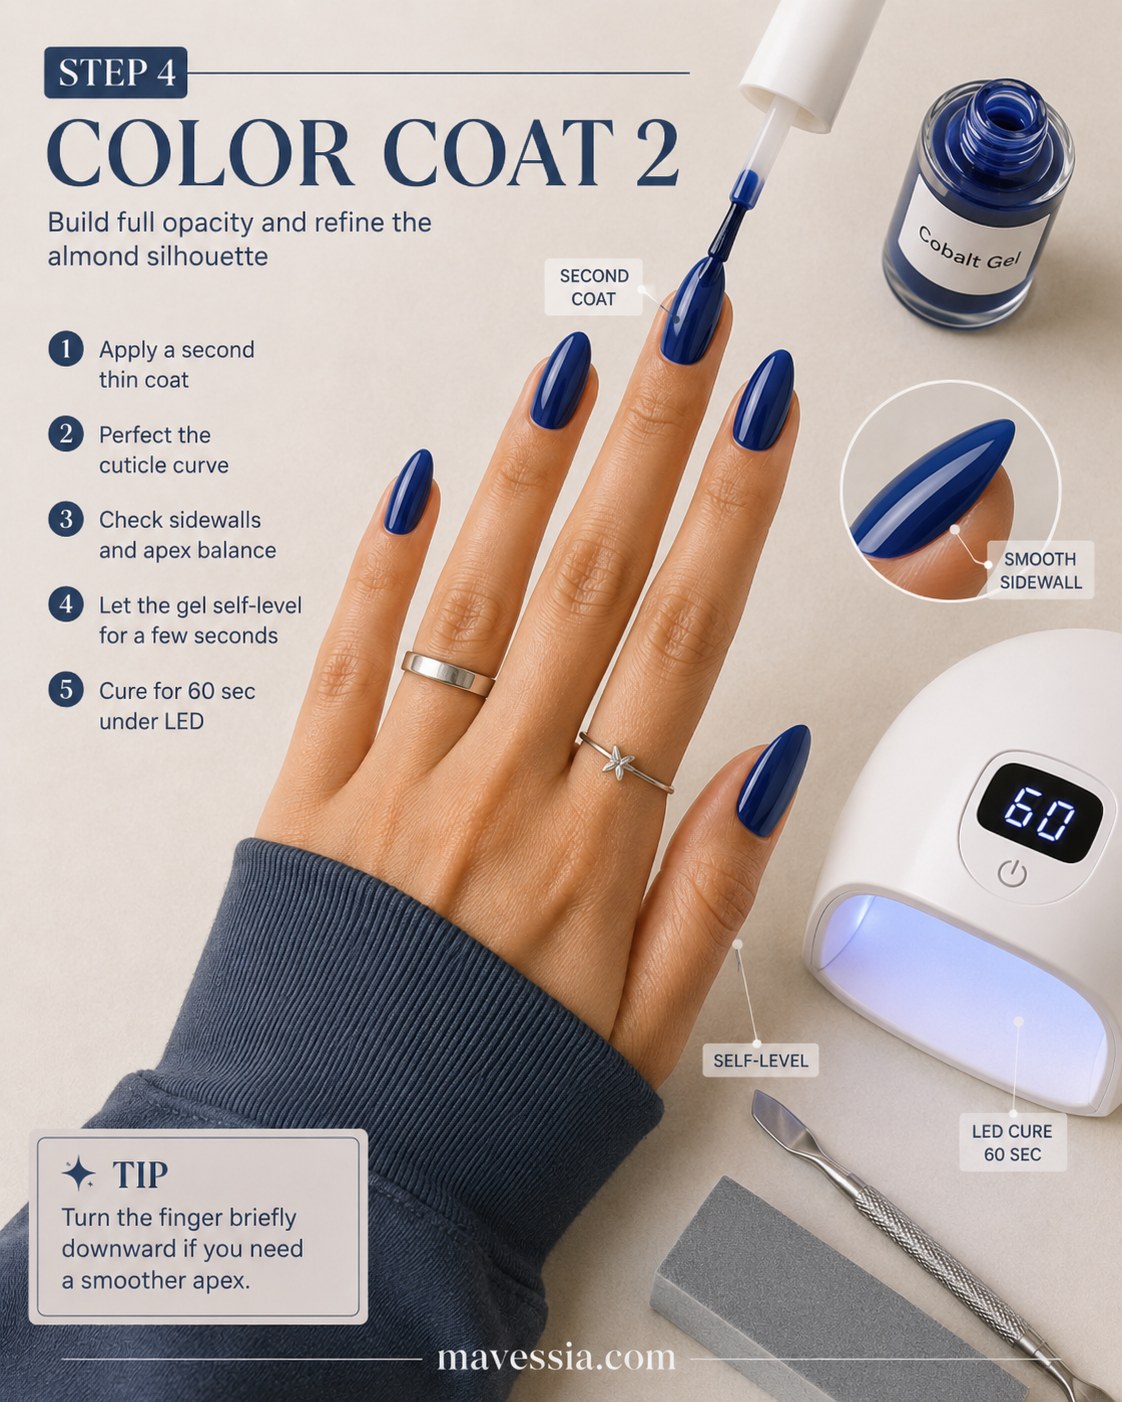
The second coat is where the cobalt goes from sheer to solid — you can see it in the display reading 60 on the lamp and the deep, even navy across every nail. Apply a second thin coat and use this pass to perfect the cuticle curve while the gel is still workable.
- Check sidewalls and apex balance on each nail
- Let the gel self-level for a few seconds before curing
- Turn the finger briefly downward if one nail needs a smoother apex
This is your last chance to correct shape before the chrome step locks everything in place, so take the extra thirty seconds here rather than fixing an uneven sidewall under mirror polish later.
Mirror Finish: Where This Manicure Earns Its Name
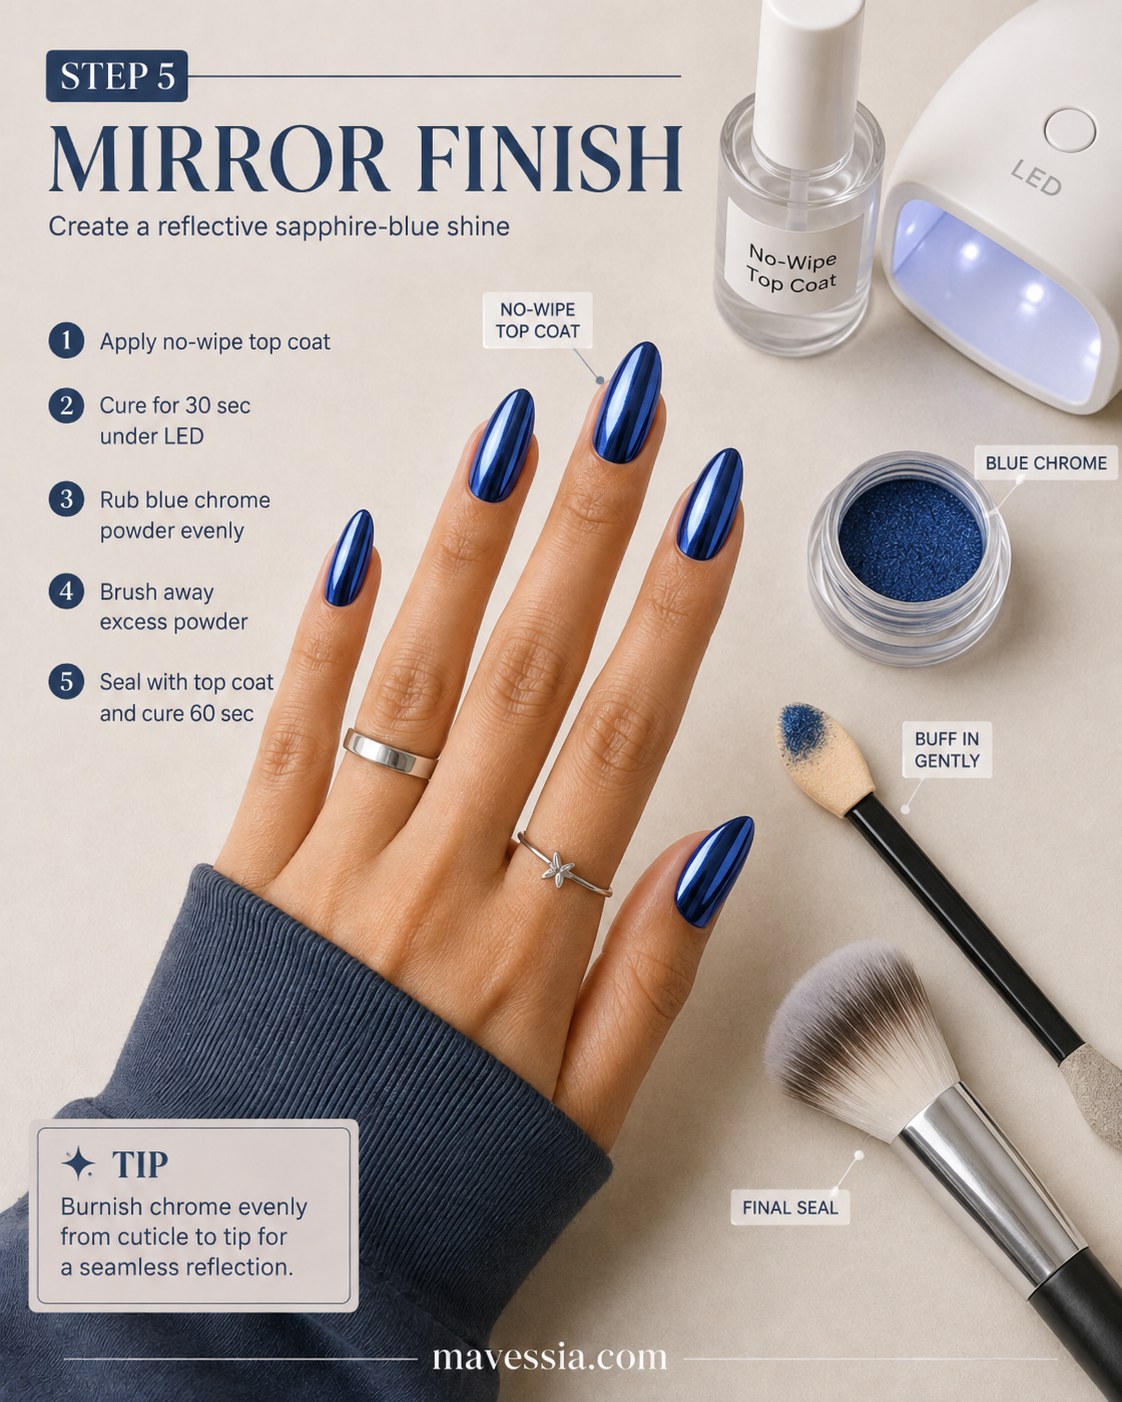
This step is genuinely satisfying to watch happen, and I'll admit I still get a little thrill from it after doing my own nails for years. Apply the no-wipe top coat and cure 30 seconds under LED — not the full 60, this coat stays slightly tacky on purpose so the chrome powder has something to grip.
- Rub blue chrome powder evenly across the nail with the sponge applicator
- Brush away excess powder with the soft buffing brush
- Seal with top coat and cure a full 60 seconds
Burnish the chrome evenly from cuticle to tip — any patch you rush shows up as a dull spot under direct light, not just in photos.
The sapphire, almost liquid-metal shine you see in this shot is the whole reason this manicure gets stopped-in-the-hallway comments.
Final Look & Aftercare: Keeping the Shine Crisp
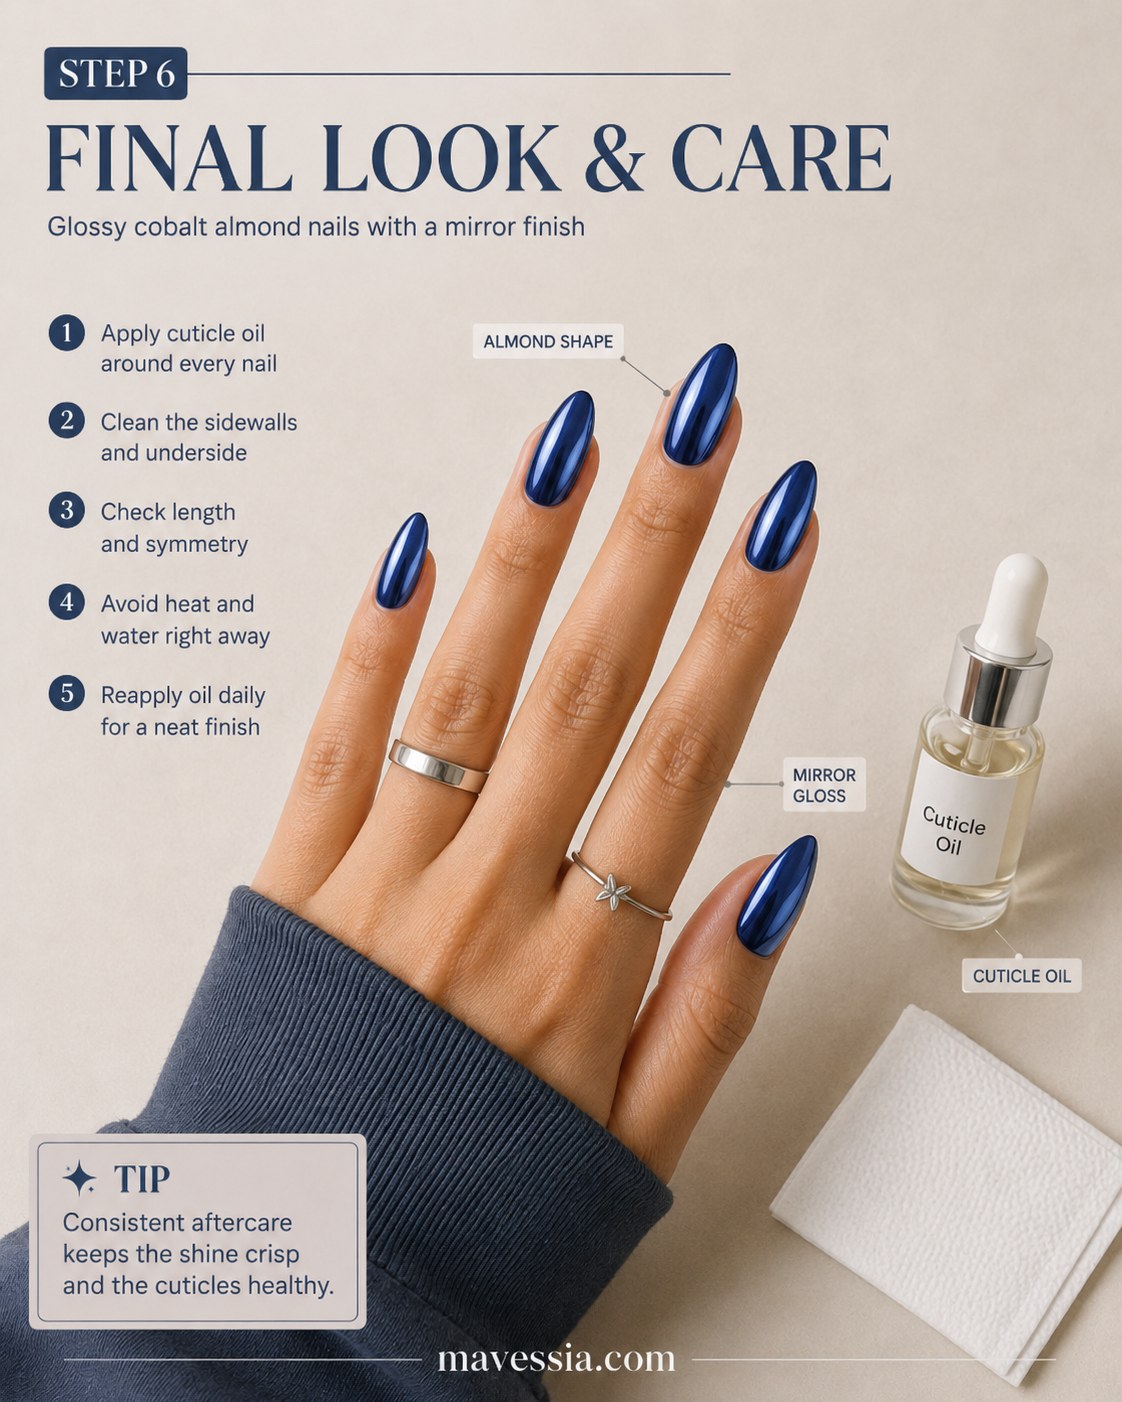
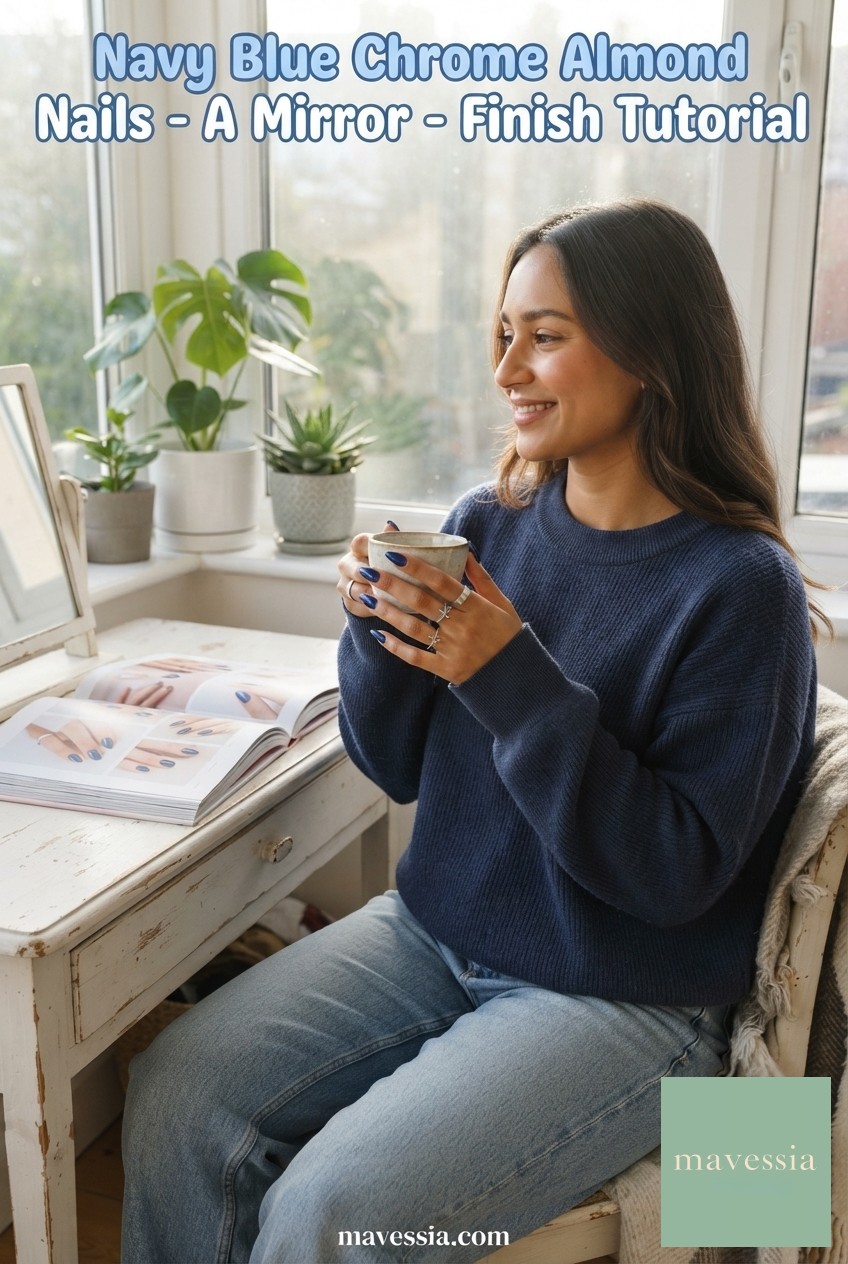
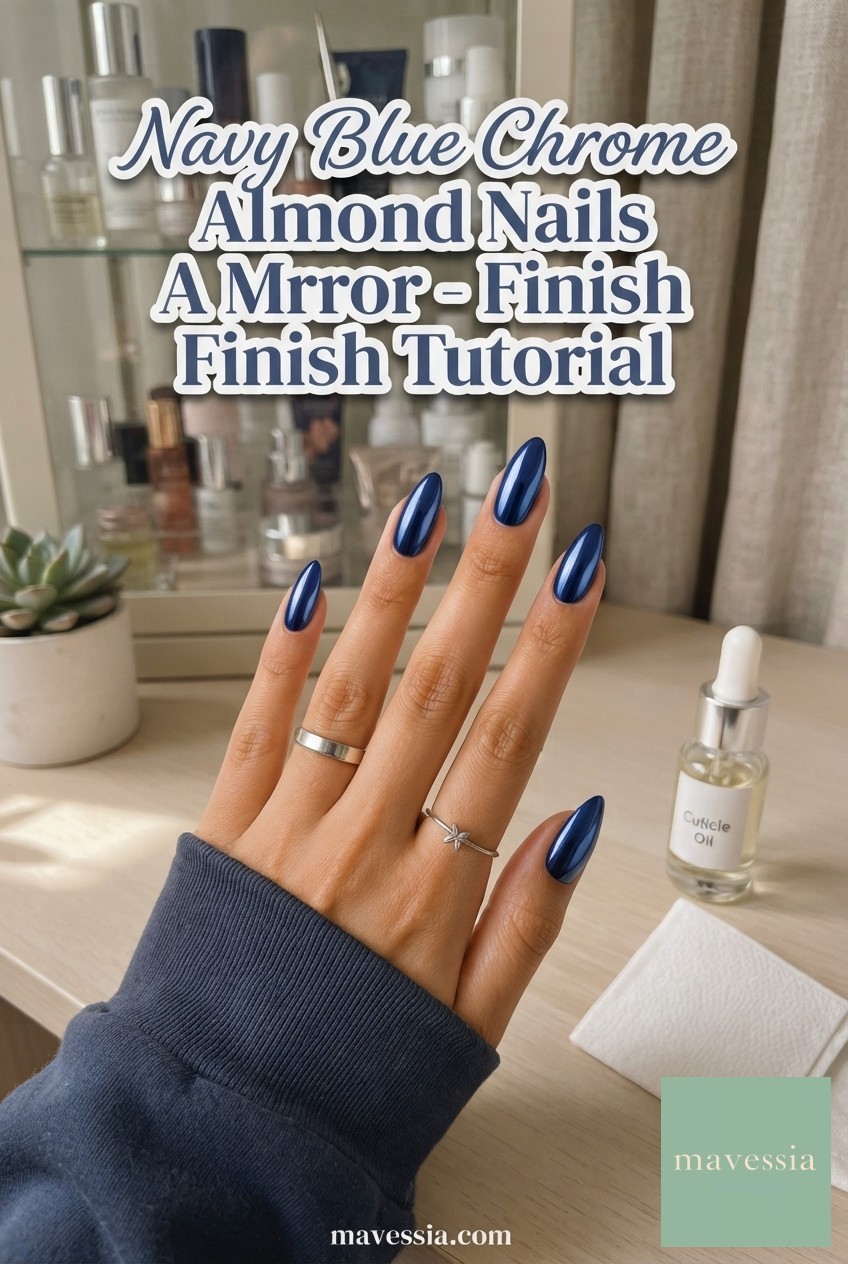
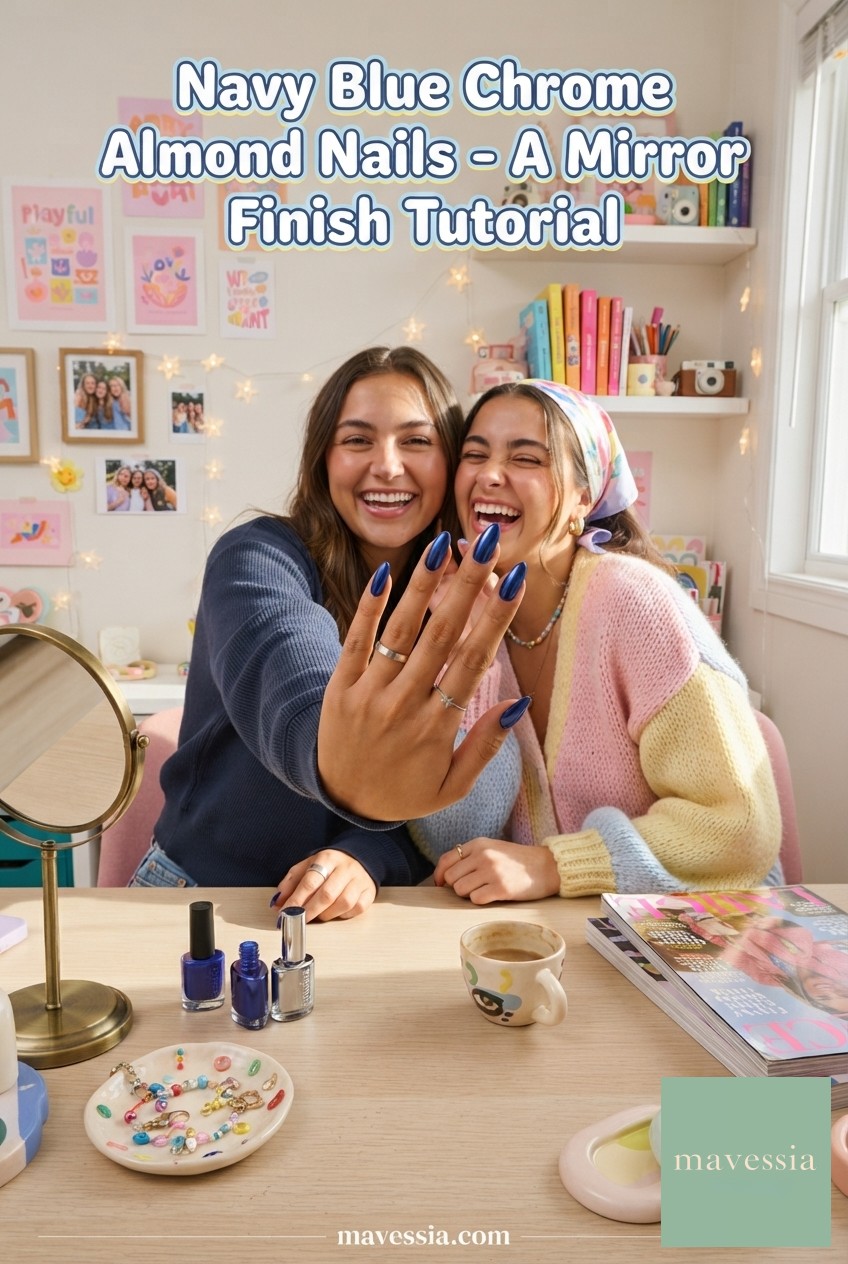
The finished set is glossy, deep navy, mirror-bright — exactly what I wanted walking into a room full of centerpieces and cold appetizer trays that needed managing. But chrome finishes are only as good as the aftercare behind them.
- Apply cuticle oil around every nail immediately
- Clean sidewalls and underside of any leftover powder residue
- Avoid heat and water right after finishing — no dishes, no hot showers for a couple hours
I reapply oil daily, which sounds like one more task on a busy week, but it takes ten seconds and it's the difference between chrome that still looks wet in two weeks and chrome that's gone dull and scratched by day five.
This one took me about an hour start to finish once I'd done the shaping, and it held up through an entire gala night of handshakes and tray-carrying without a single chip. If you're building toward an event where your hands will actually be photographed, give yourself that hour a day or two ahead rather than the night before.

- Tools
- Products



Your Questions, Answered
Can I skip the primer step?
Yes, in most cases. I only use primer when a nail plate feels naturally oily or I know I'll be doing water-heavy work soon after. Dehydrator alone covers adhesion for most people.
Why did my chrome powder come out patchy instead of mirror-smooth?
That almost always traces back to curing the no-wipe top coat too long before applying the powder. Thirty seconds keeps it tacky enough to grip; a full 60-second cure hardens it too much and the powder won't burnish evenly.
How long does this manicure realistically last?
With proper base prep and daily cuticle oil, I've gotten two to three weeks of solid wear before the chrome starts dulling at the tips, which is normal wear rather than a failure of the technique.