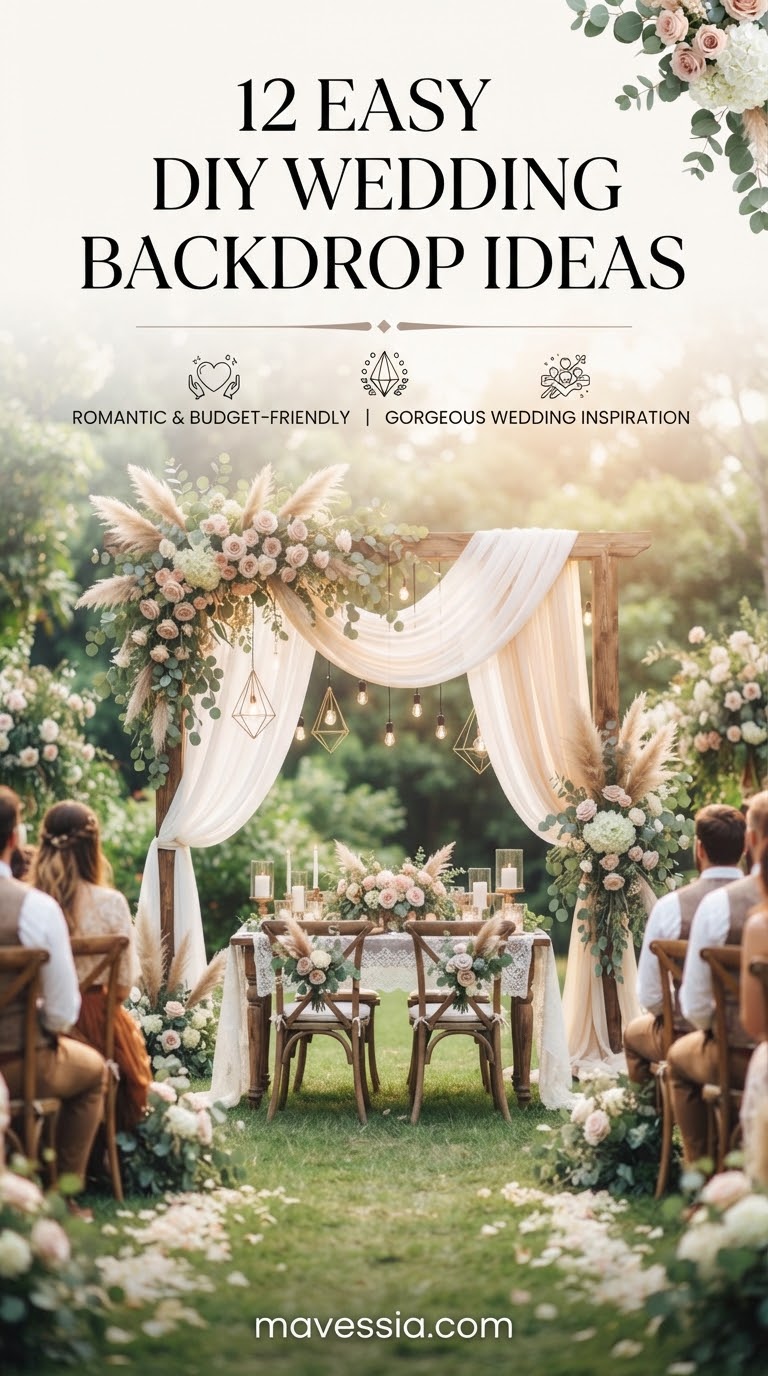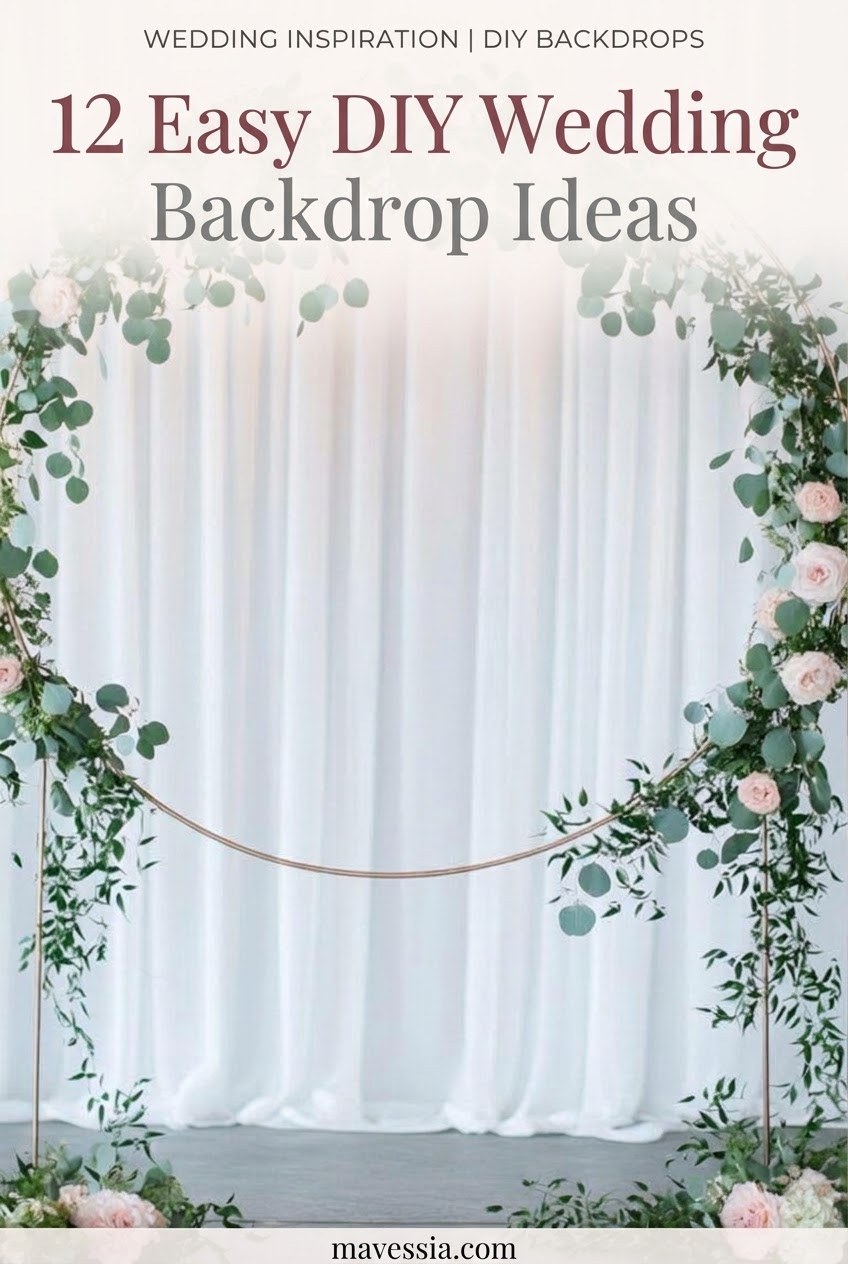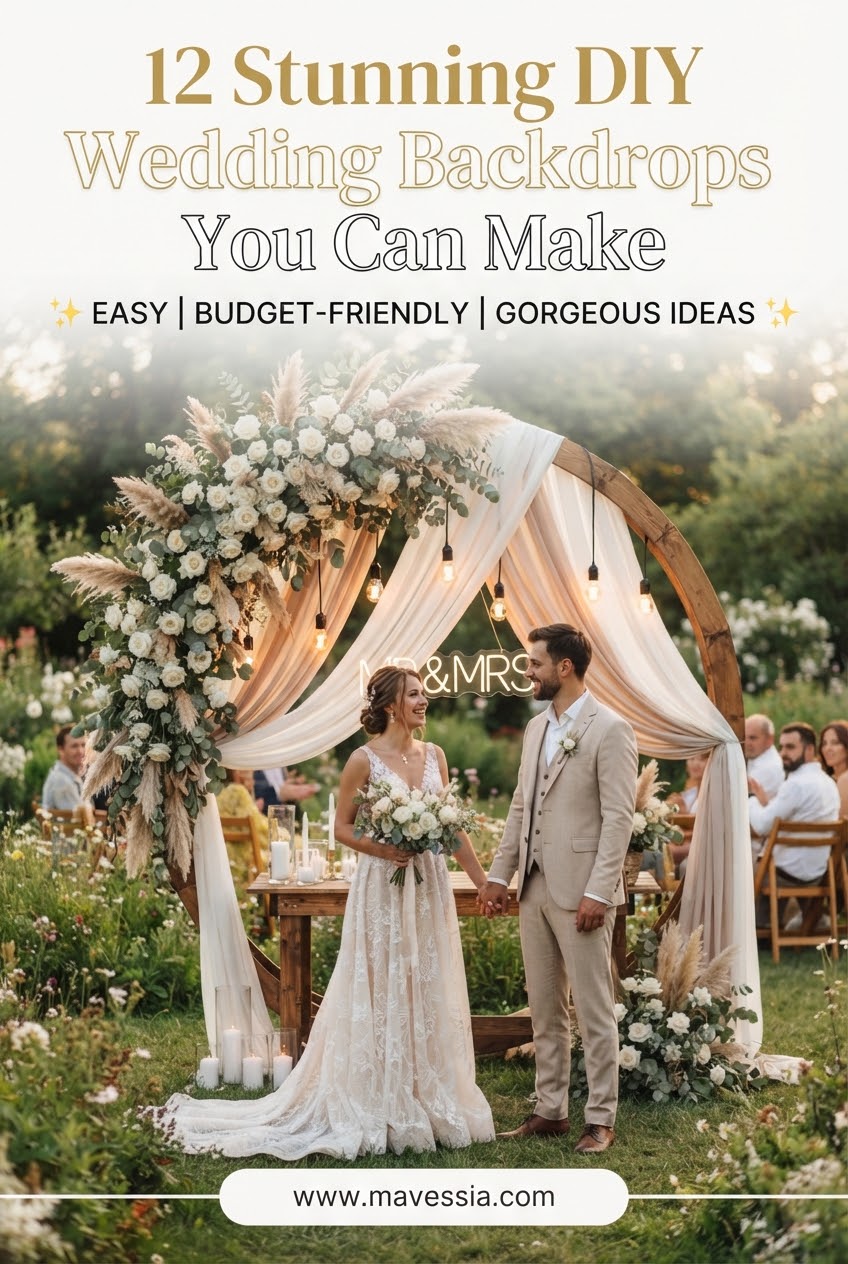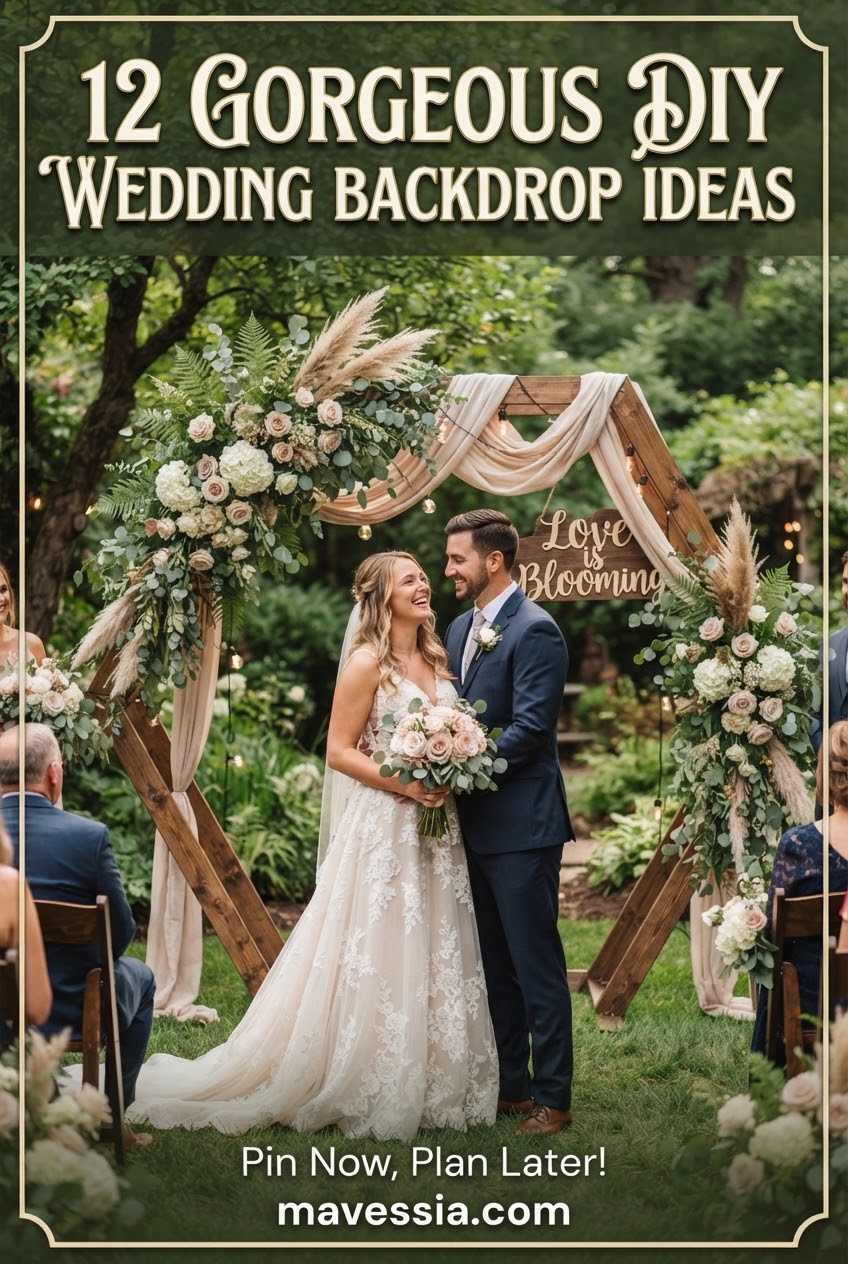
A wedding backdrop has one very important job: frame the moment without becoming the most stressful project of the week. After years of watching ceremony installations go up under real wedding-day time pressure, I have a particular affection for designs that look substantial but use simple mechanics. A greenery and floral hoop lands squarely in that category. It gives you height, movement, and a strong shape in photographs without requiring every inch to be smothered in expensive flowers.
Quick Plan
- Use a sturdy metal hoop with a properly weighted or anchored base.
- Build the shape with greenery before adding your statement flowers.
- Concentrate flowers in one or two clusters instead of covering the entire circle.
- Finish as much as possible before the wedding day and delegate final placement.
Greenery and Floral Hoop
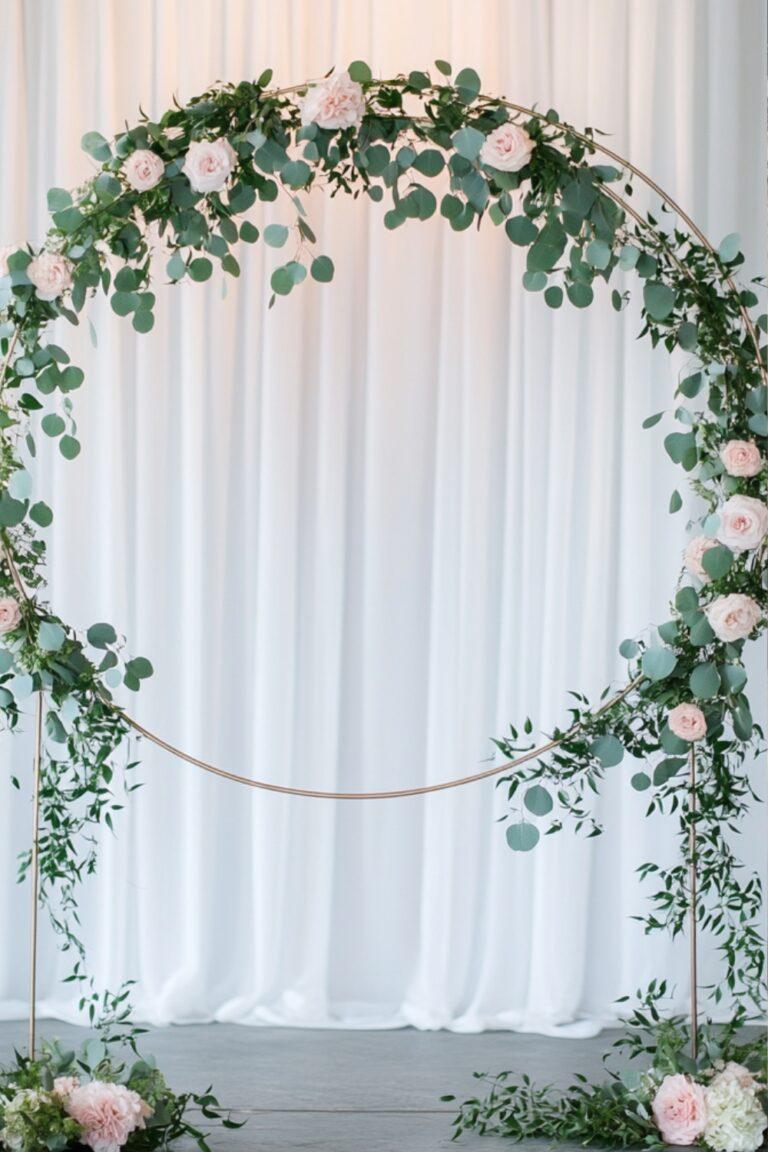
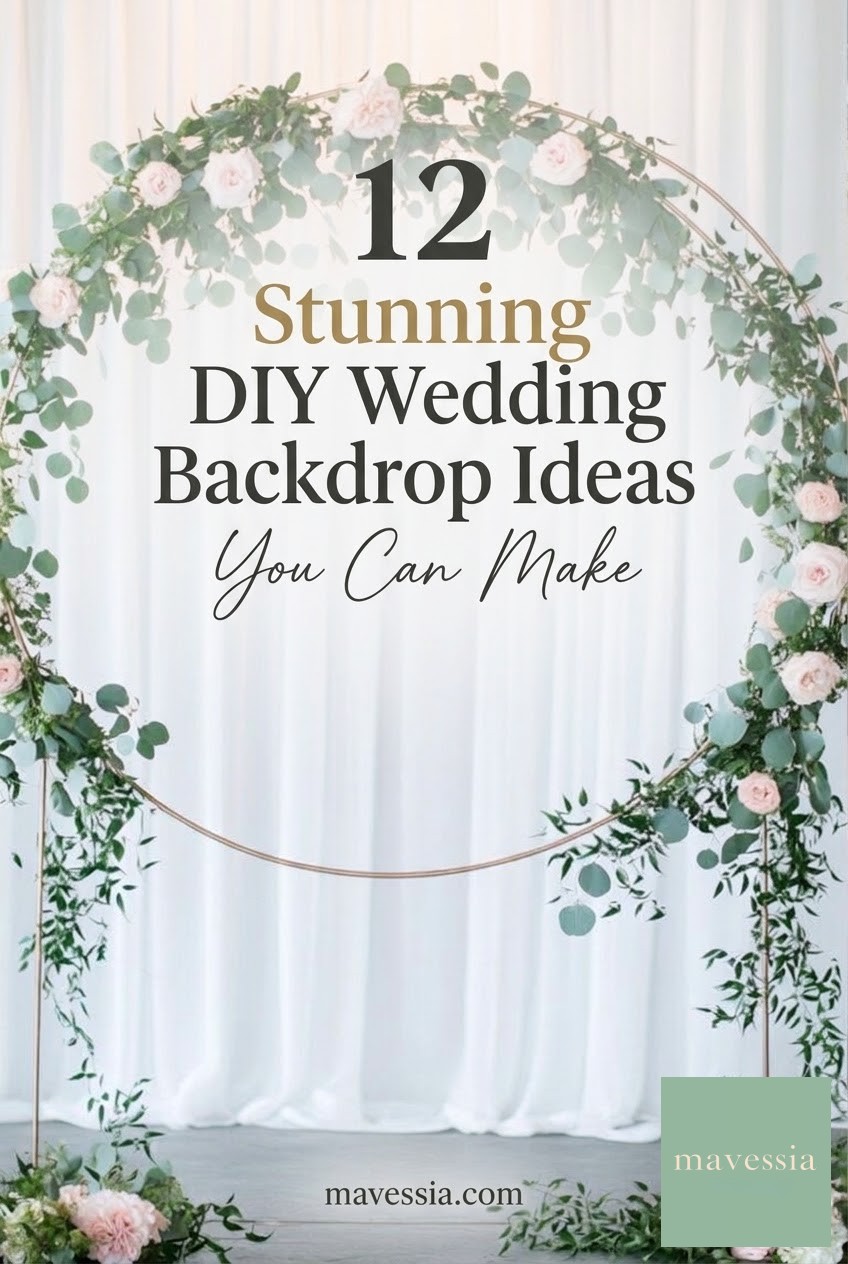
A large circular hoop is one of my favorite DIY wedding backdrop ideas because the frame does half the visual work for you. That clean circle reads clearly from the back row of the ceremony and gives your photographer a defined frame around the couple. Current floral-design guides still recommend the same mechanics I rely on at events: secure foliage first, hide attachment points inside that base layer, and add focal flowers only after the overall silhouette is established.
I would call this a Weekend Project, not a wedding-morning craft. The decorating itself is manageable; the part I refuse to rush is structural stability. A flowered hoop can become surprisingly heavy, and an outdoor ceremony adds wind to the equation. Use the manufacturer-approved stand or a professionally fabricated base, weight or anchor it appropriately for the venue, and test the finished structure before anyone stands beneath or beside it.
Do Not Treat the Base as Decoration
Flowers cannot compensate for a wobbly frame. Confirm that your venue allows the hoop, ask how freestanding décor may be weighted or anchored, and keep exposed wire ends, zip-tie tails, and other sharp mechanics away from guests. Outdoors, account for wind before adding flowers rather than after the backdrop begins to sway.
For the prettiest result on a realistic budget, I prefer an asymmetrical design: one fuller floral cluster around the lower third of the hoop, a smaller echo higher on the opposite side, and generous stretches of visible metal between them. Negative space is what keeps a hoop looking modern. Covering every inch can easily turn a relatively approachable DIY into a much larger floral order.
- Frame: Choose a rigid metal hoop and compatible stand designed to remain upright at your planned height.
- Greenery: Ruscus, smilax, ivy, eucalyptus, ferns, or similar foliage can establish the outline and conceal mechanics; select varieties that suit your climate and availability.
- Focal flowers: Roses, carnations, mums, orchids, or other durable blooms work well in concentrated clusters. Delicate flowers may need an individual water source.
- Mechanics: Zip ties, floral wire, and chicken-wire or reusable mesh mechanics give stems multiple secure attachment points.
- Tools: Pack floral snips, wire cutters, gloves, spare ties, buckets, towels, and a small ladder if the hoop is taller than comfortable reach.
The greenery-first method is both prettier and more economical. Longer branches establish movement, medium foliage fills the body, and flowers become accents rather than camouflage. I have seen couples spend twice what they needed because they started plugging visible gaps with roses when another armful of foliage would have done the job better.
| Coverage Style | Best For | DIY Reality |
|---|---|---|
| One floral cluster | Minimal, modern ceremonies | Least material and fastest installation |
| Two asymmetrical clusters | Garden and romantic weddings | My favorite balance of impact and workload |
| Nearly full hoop | Lush statement installations | Much heavier, slower, and more flower-intensive |
I also recommend designing with photographs in mind. Stand where the officiant and couple will stand, then have someone take a phone photo from roughly aisle-center. A floral cluster that looks enormous from two feet away can disappear in a wide ceremony shot. Conversely, a branch projecting beautifully from the side may land directly behind somebody's head. Ten minutes of test photos saves an impressive amount of fiddling later.
- Assemble. Build the empty hoop on a level surface and confirm that every connection and base component is tight.
- Secure. Add your chicken-wire or other floral mechanics with zip ties, trimming and covering sharp ends carefully.
- Green. Start with your longest foliage to establish direction, then layer shorter greenery until the mechanics disappear.
- Cluster. Place the largest focal flowers where you want the eye to land, then fill around them with smaller blooms and texture.
- Inspect. Walk around the hoop and photograph it from the aisle, sides, and couple's standing position; adjust obvious gaps or awkward stems.
- Stabilize. Move the finished backdrop into its final location and complete the venue-approved weighting or anchoring before the ceremony area opens.
Make the Wedding Day Easier
Build reusable greenery bundles or faux-flower clusters ahead of time, label their intended positions, and photograph the completed test setup. If you are using fresh flowers, prep the mechanics and greenery in advance where practical, then add hydrated blooms as late as their specific varieties require. Give one capable person the reference photo and final-installation job so you are not standing on a ladder in wedding clothes.
Scale the design to the ceremony rather than automatically making it enormous. For an intimate 6–8 person celebration, a smaller hoop behind a sweetheart table or vows area can be plenty. For a family-size 12–16 gathering, a standard freestanding ceremony hoop usually gives you all the visual punctuation you need. For a 25+ guest setup in a large room or open landscape, increase the overall frame scale or floral concentration so the backdrop does not look undersized from the aisle.
Why I Like It
- The circular frame creates visual impact before you add a single flower.
- Partial coverage keeps floral quantities under control.
- It works behind vows, a sweetheart table, cake display, or photo area.
- Faux elements can be assembled well before the wedding.
What Needs Planning
- Large hoops require secure transportation and a stable base.
- Fresh flowers need appropriate hydration and temperature management.
- Outdoor installations must be designed for wind, not merely appearance.
- Very dense floral coverage quickly increases weight, cost, and setup time.
My final test is simple: once the hoop is secured, nobody getting married should have to touch it again. Assign setup, pack extra ties and snips with the décor supplies, and put the reference photo directly in the installation bin. The backdrop should be waiting for you at the ceremony—not waiting for you to finish it.
Greenery and Floral Hoop FAQ
Can I make a floral hoop backdrop the day before the wedding?
You can assemble the frame, mechanics, and many faux components ahead of time. With fresh flowers, timing depends on the varieties, water source, temperature, and storage conditions, so I would confirm handling requirements with the grower, wholesaler, or florist supplying them.
Do I need to cover the whole hoop with flowers?
No. In fact, I usually prefer partial coverage. One or two concentrated floral areas preserve the circular shape and can significantly reduce the number of stems and the finished weight.
Can I use faux flowers and real greenery together?
Absolutely. A mixed approach can give you the advance-prep advantage of faux focal flowers while real foliage supplies natural movement and texture. Just remember that real greenery still has its own hydration and temperature needs.
How do I stop a wedding hoop from tipping outdoors?
Use a frame and base engineered for the installation, follow venue rules, and use appropriate weights or anchors for the site. If wind or structural safety is uncertain, this is the point where I would bring in the venue team or a professional installer rather than improvising.
More Pinterest Visuals